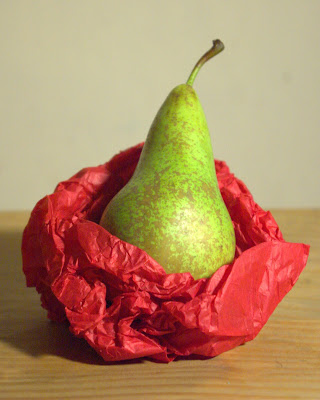
after trying out several fruits in the studio i settled on using a pear, i also researched the lighting techniques, both of which can be found on my blog posts. This is my final peice for the studio photography no2.
high key- very few shadows with not much contrast.
low key- quite dark but with beams of light shining on object to show form and colour.
45/45 - light to the right of the fruit at at 45 degree angle and above at a 45 degree angle casting a shadow as seen in image above.
back lit - creating a halo effect around object being lit.
top lit - quite bright with only a shadow aroun the bottom of the object
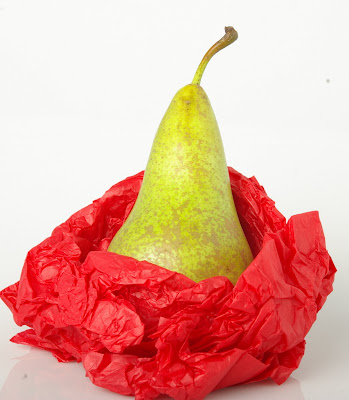
high key
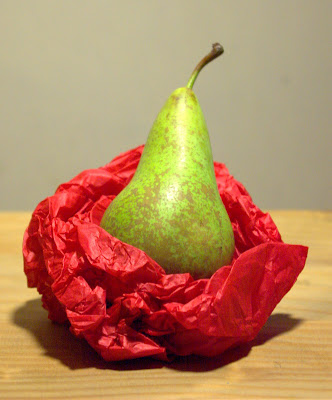
top lit
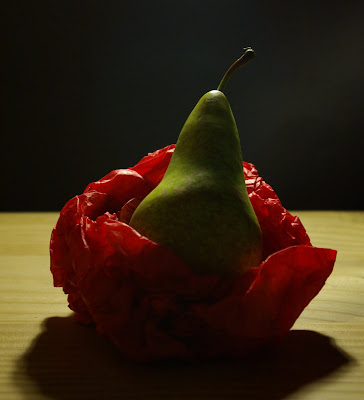
low key
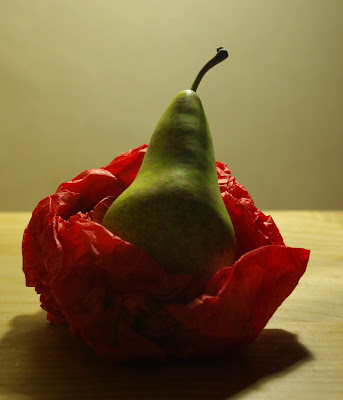
back lit
45/45


 one of my favourite images made with salmon slices for the sea, black bread, potatoes and beans for rocks and a pod of peas as a canoe.


